Annotating images & PDFs in Evernote
Opinion needed: I’m thinking of turning on the SubStack chat feature which means all subscribers could join in Taming The Trunk community chats via the SubStack app or website. This would be optional, you don’t have to chat! The plan would be to start an Evernote and Productivity thread each month which means I could get Evernote news out quicker to the community and we could share productivity tips/advice/videos/stuff I find. Would you use this? Interested or not? Let me know in the comments or reply to the email.
One of the greatest features of Evernote is being able to annotate images and PDFs.
I use this all the time and most of the screen grabs here are captured, cropped and annotated using Evernote.
I’m going to split this post into three sections. The annotation tools then marking up images and finally PDFs.
Note: You need a Personal or Professional paid plan to use the annotation features.
Lets get to it.
Evernote’s annotation tools
The toolbox that Evernote provides in the annotation window is quite useful. There’s a few different features.
We can add arrows to our images and PDFs in different colours.
If there’s not a colour you like you can select one using the colour-wheel. This works for a number of the tools.
Use arrows to point out items in an image or PDF.
You can add some text in different colours using the text tool. This is really useful for adding instructions or actions to an image or PDF.
You can also resize the text and remove the outline if you want by clicking the little a when you click the text.
Add squares, rectangles, circles and lines of different thickness and colour. I use the square a lot to highlight areas that folks need to focus on.
You can also add stamps to images and PDFs which and add text or arrows to the stamp. These can be used to mark up reports, PDFs and convey some sort of action.
There’s also a blur tool so you can hide personal information in images or screen shots.
There’s also a crop tool.
At the top of the annotation screen there are tools for zooming, rotating and changing the view of the image or PDF to make things a little easier to work with.
Annotating an image with Evernote
You can annotate pretty much any image in Evernote. This could be an image that you upload, email in, add via the web clipper or add using the Evernote Helper.
To annotate an image, just click on the little pencil icon.
This will open up the annotation window with all the tools you’ve read about above.
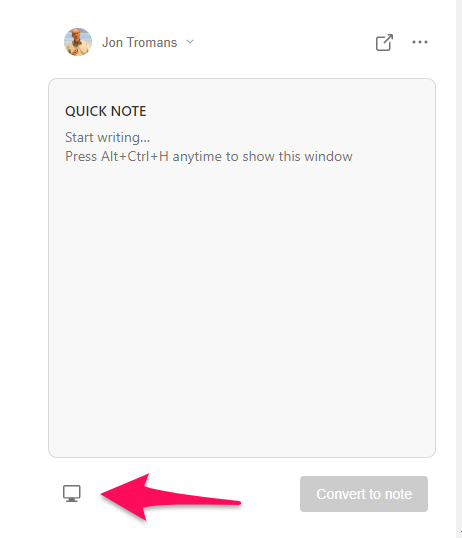
One of Evernote’s most powerful features is being able to take a screen shot and then annotating it. Use the Evernote Helper to grab a section of your screen (desktop apps) and the images are saved in your default notebook.
I use the keyboard shortcut ALT+CTRL+S to take a screen shot quickly. I don’t have a Mac but there should be an equivalent, someone post it in the comments!
Annotating a PDF with Evernote
This works pretty much the same as image annotation so you can draw all over your PDF.
One thing to point out is you get to see all the pages of the PDF in the right hand area of the annotation window so you can annotate any page.
That’s it. Once you’ve finished annotating your image or PDF just download it and do what you want with it.
Do you use Evernote’s annotation features?
Have a great weekend
All the best
Jon


Only (slight) issue when annotating pdf's and emailing it to a user that has adobe reader it refuses to open on there end. Have to convert it before hand, normally, just print to Microsoft PDF and that usually does the trick. Other than that beats paying for adobe pro