


A huge thank you to jcm, Brian, Amy, Tony, wac, Michael, ohbeep, Ted and Barry who all became paid subscribers over the last week. Many thanks, its much appreciated. Also, thank you to those who bought me a coffee. Taming the Trunk is 100% reader supported, no ads or commission links and your support is really appreciated.
Newsletter housekeeping: The latest version for PC & Mac is 11.34.8. You can grab it from the download page. Latest mobile version is 11.34.3.
There’s been a huge in-flux of free and paid subscribers over the last week and I just want to thank you all for joining the herd. Don’t forget there’s paid subscriber chat here and free subscriber chat there.
So, we have a brand new PDF editor.
It’s the second time in the last couple of years its been updated, the first time was just cosmetic, this time you'll see some really useful new functionality like merging, splitting and reordering PDFs.
Let’s take a deep dive.
Quick note: Everything below relates to the desktop apps for Mac and PC. Hopefully, this new functionality arrives on mobile soon, especially tablets.
Updated annotation tools
The actual display of a PDF in your note hasn’t changed, but we do have a new edit and annotation icon.
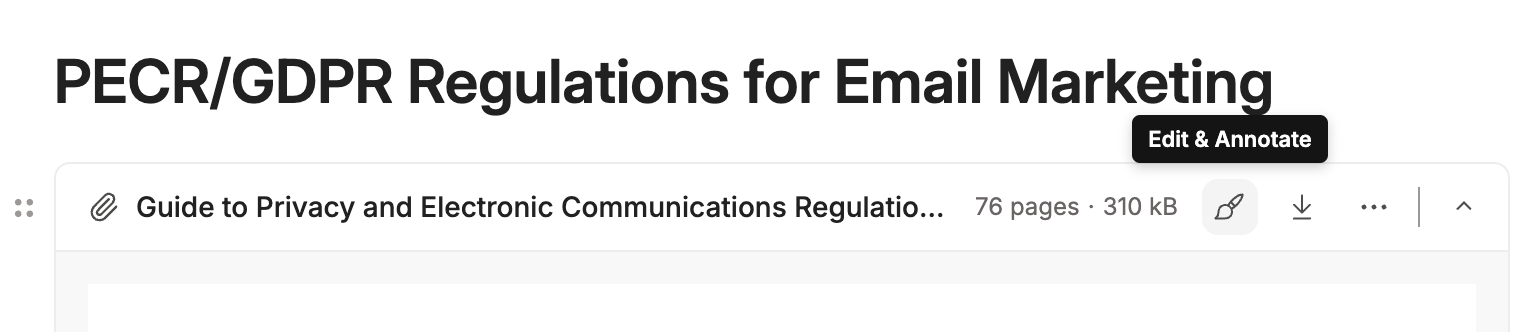
It’s a little paintbrush. Not much else has changed from this aspect, you can still change the view from title only to all pages or single pages. You can also rename the PDF pretty quickly, just check behind the three-dot menu.
The big change is when you click the paintbrush.
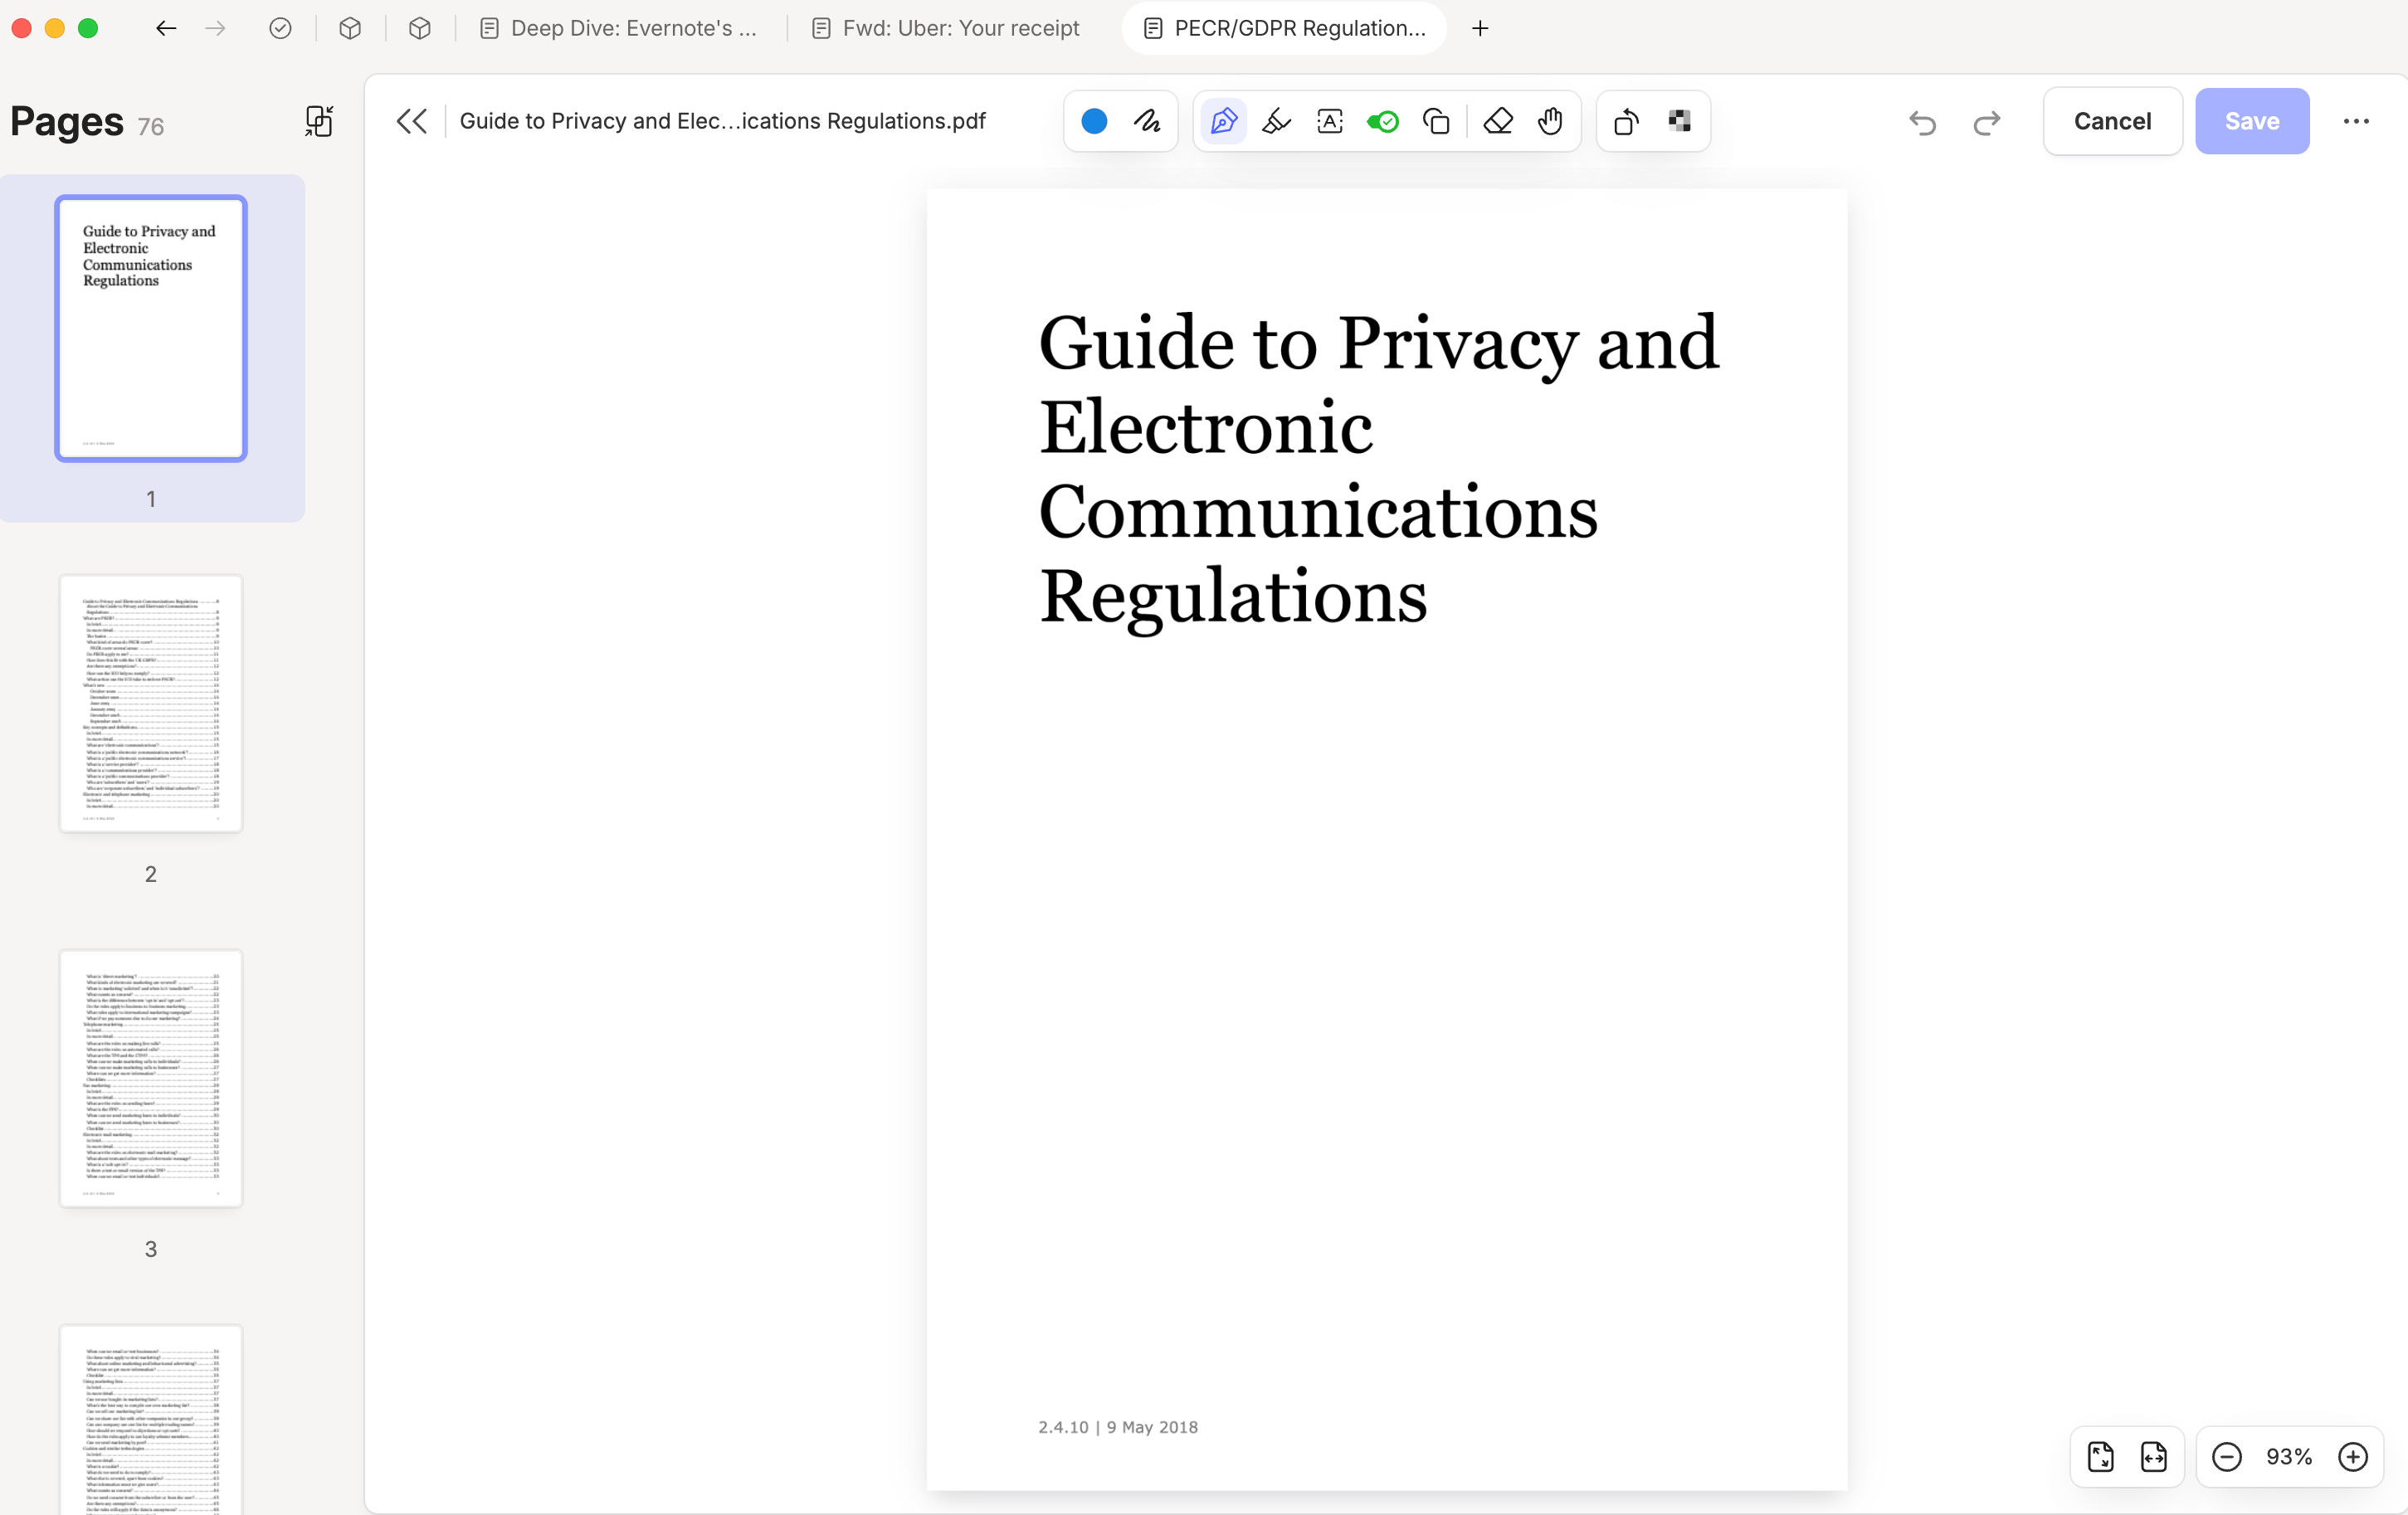
We’ll talk about the sidebar later.
For now, let's take a look at the annotation tools as they’ve had a bit of an upgrade.

From left to right:
Change the colour of the annotation tool
Change the thickness of the annotation tool
Pen tool
Highlighter
Text
Stamps
Shapes
Eraser
Move stuff around and select tool(!)
Rotate pages
Blur tool
The colour selector
We now get a slightly better range of colours to choose from when annotating our PDF.
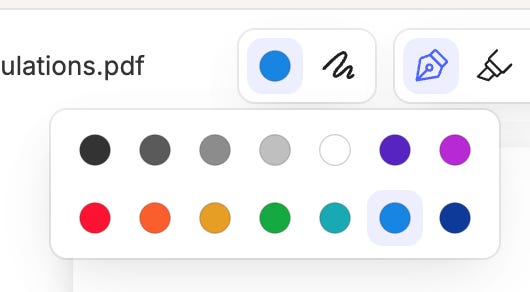
I’m happy with the selection, it covers pretty much everything I would need.
I would like it to remember what colour I choose, right now, it goes back to its own default.
When you select the highlighter tool, you get a different set of colours appear that look like they match the note editor’s highlighter.
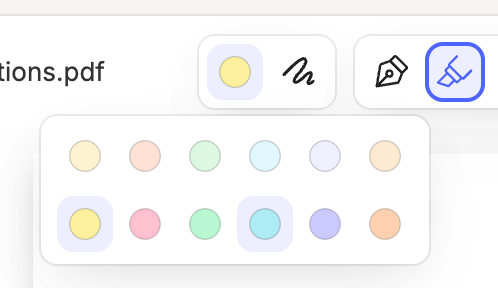
Are you happy with the colours? Let me know in the comments.
Thickness selector
This tool effects the pen, highlighter and shapes tool and increases the thickness.
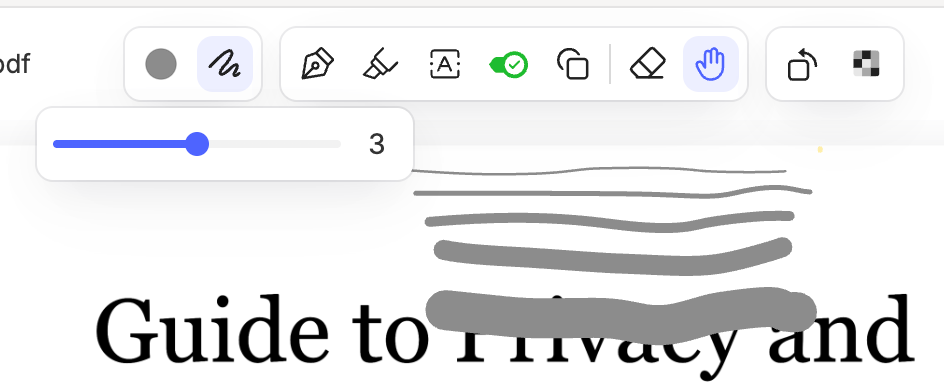
You can see the range in the image above, from 1 to 5.
You can click on existing drawings or shapes and change the thickness whenever you want.
Pen tool
I won’t spend too much time on this as you can see it in action in the image above.
The pen tool lets us scribble all over or PDF free-style.
Once these new annotation features arrive on mobile and tablet, it will be interesting to see how it works with a pen.
Highlighter tool
This is probably going to be the most used tool in the annotation set, it is for me and we get the same thickness options as the pen tool.
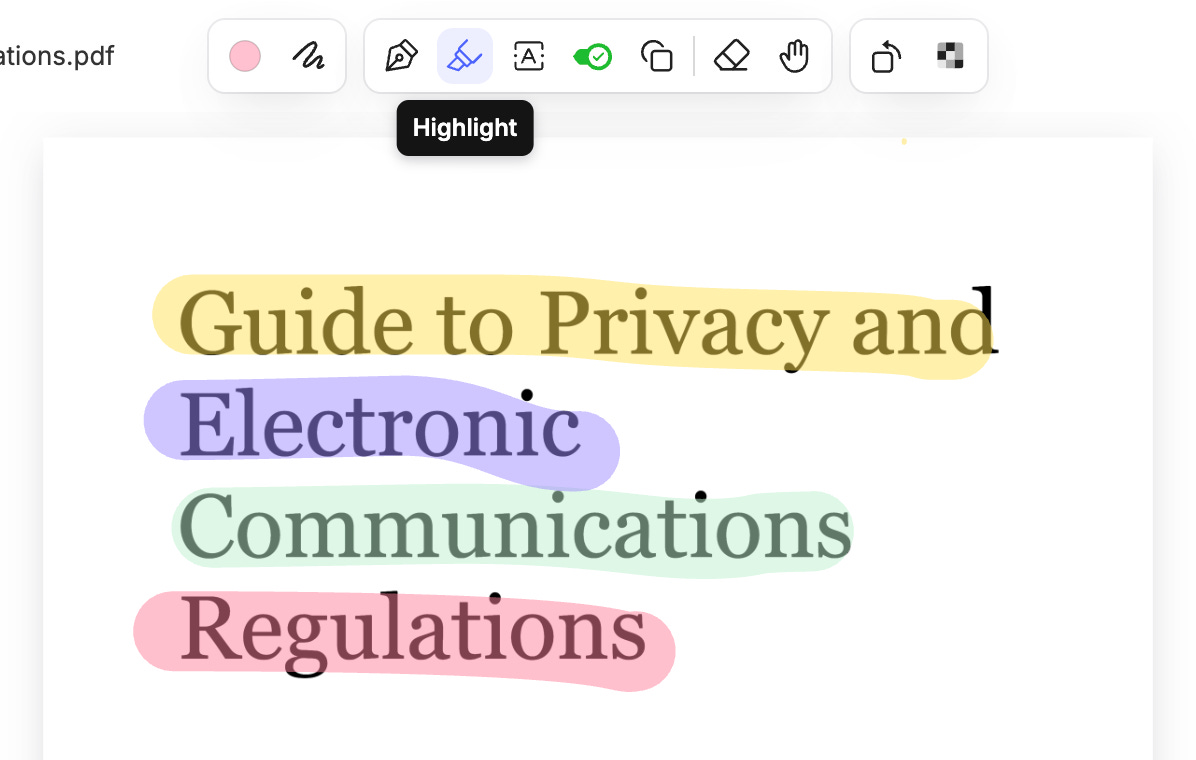
It does what it says on the tin, highlights. I think the corners look a little rounder, which I like.
Let me know what you think.
Text tool
When you start typing with the text tool, a few more options appear in the annotation toolbar.
You can select a font size, strike-through, underline and bold.
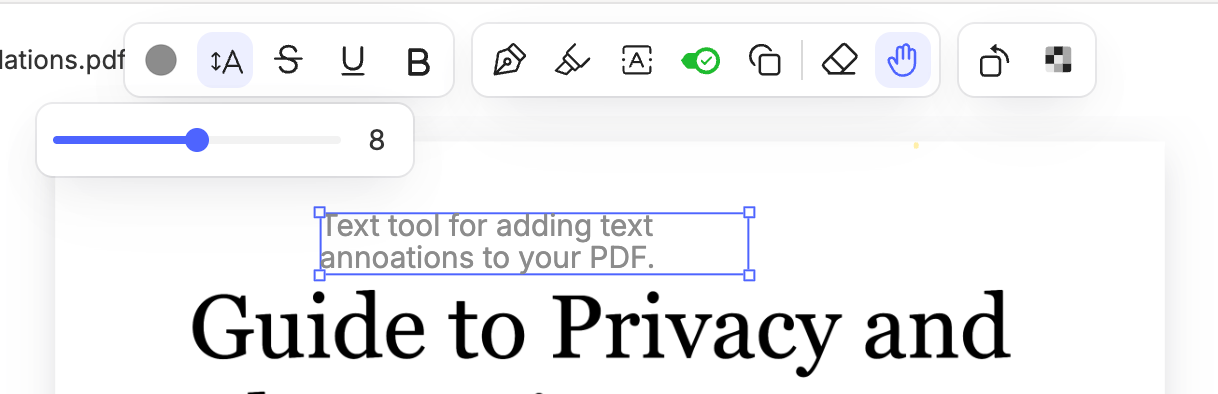
This is what bold looks like, very similar to what we were used to before. It would be nice to see italics as an option.

We can also paste plain text into the text tool as well so if you have some text in a note just copy/pasta it into the PDF.
Happy with the text tool? Anything you’d like to see?
Stamp tool
This has not changed too much. I must admit I didn’t use it much at all so not sure if we have more options now.
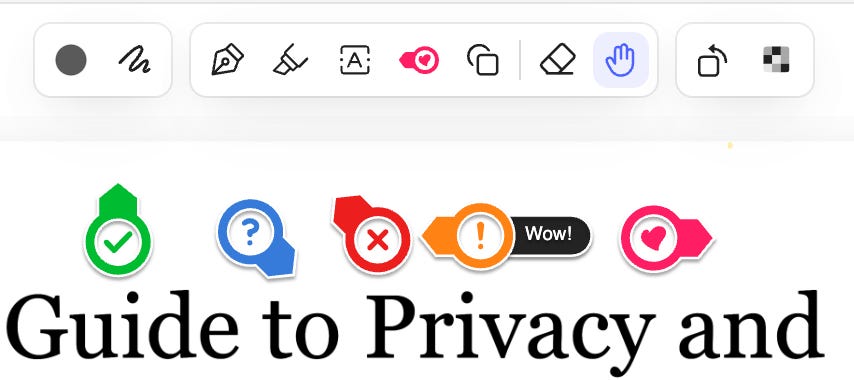
You can point the arrow in the direction you want, add some text and move them around.
These are useful for pointing to specific information in a PDF and inferring an action or priority.
Shapes tool
Not too much has changed here. We still have access to the Evernote arrow that’s been famous across the internet for over a decade.
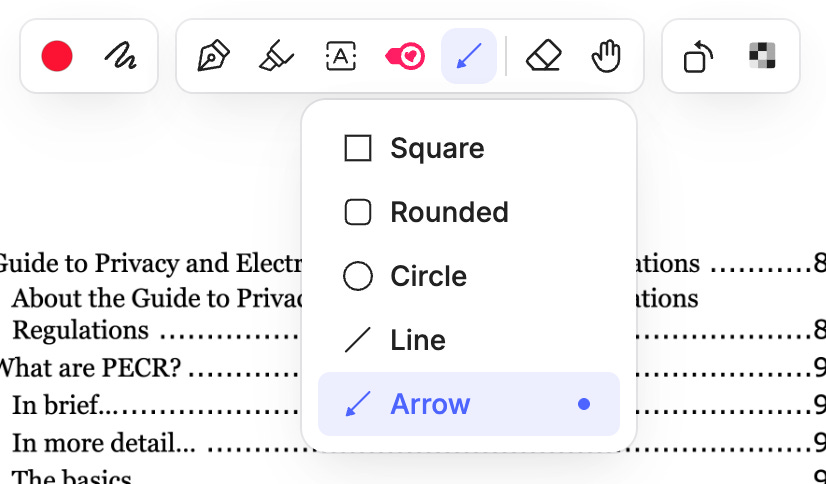
You can control the colour and thickness of the shapes using the options on the far left and you can move the shapes around to make whatever you want with them.

Eraser tool
This is pretty self-explanatory. Just click on it and select any of your annotations and it will erase them. Simple.
Hand, select or move tool
Another easy one that hasn’t changed. Click on the hand and you can then move all your annotations around the screen and place them exactly where you want. You can also select annotations, hit delete and they go away.
Rotate tool
You can rotate specific pages of your PDF and each page can be rotated separately.
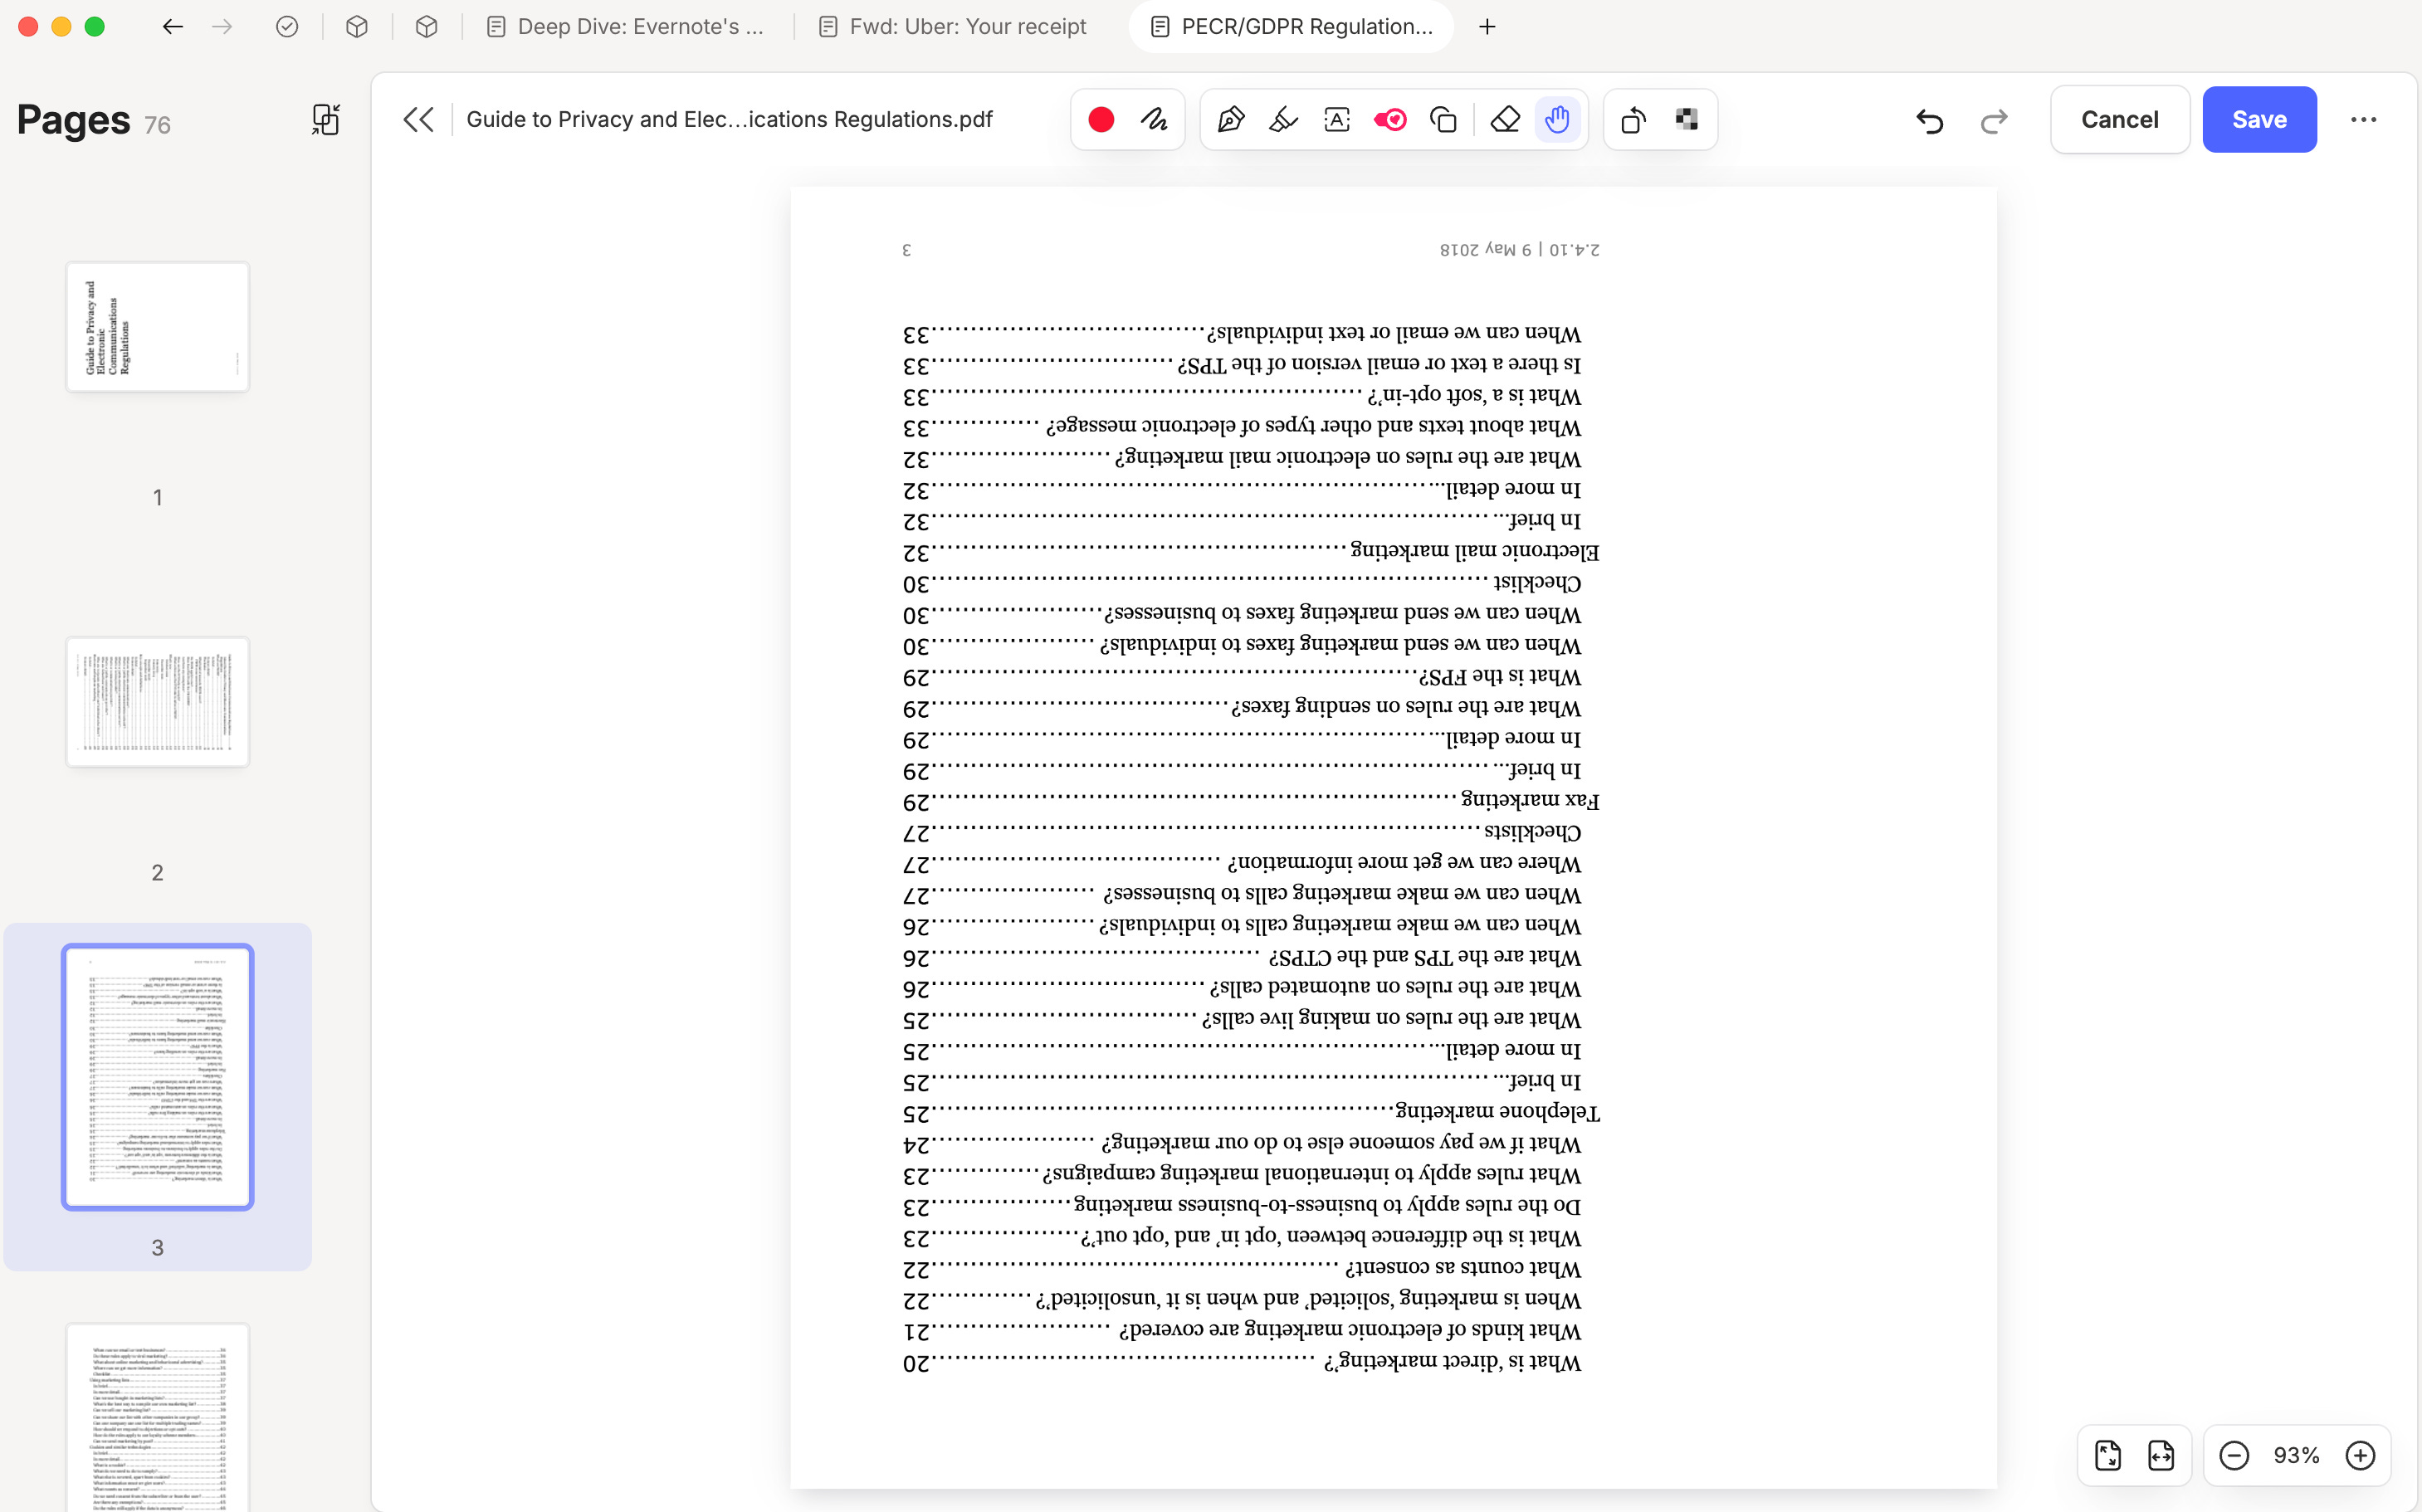
Not 100% sure how useful it is, but someone will have a use case.
Blur tool
Finally, the blur tool and I think this has been improved slightly.
I always used to be a bit disappointed how it burred some text as it wouldn't always give you the blur look, it would just be off-white. This now seems to work a bit better.
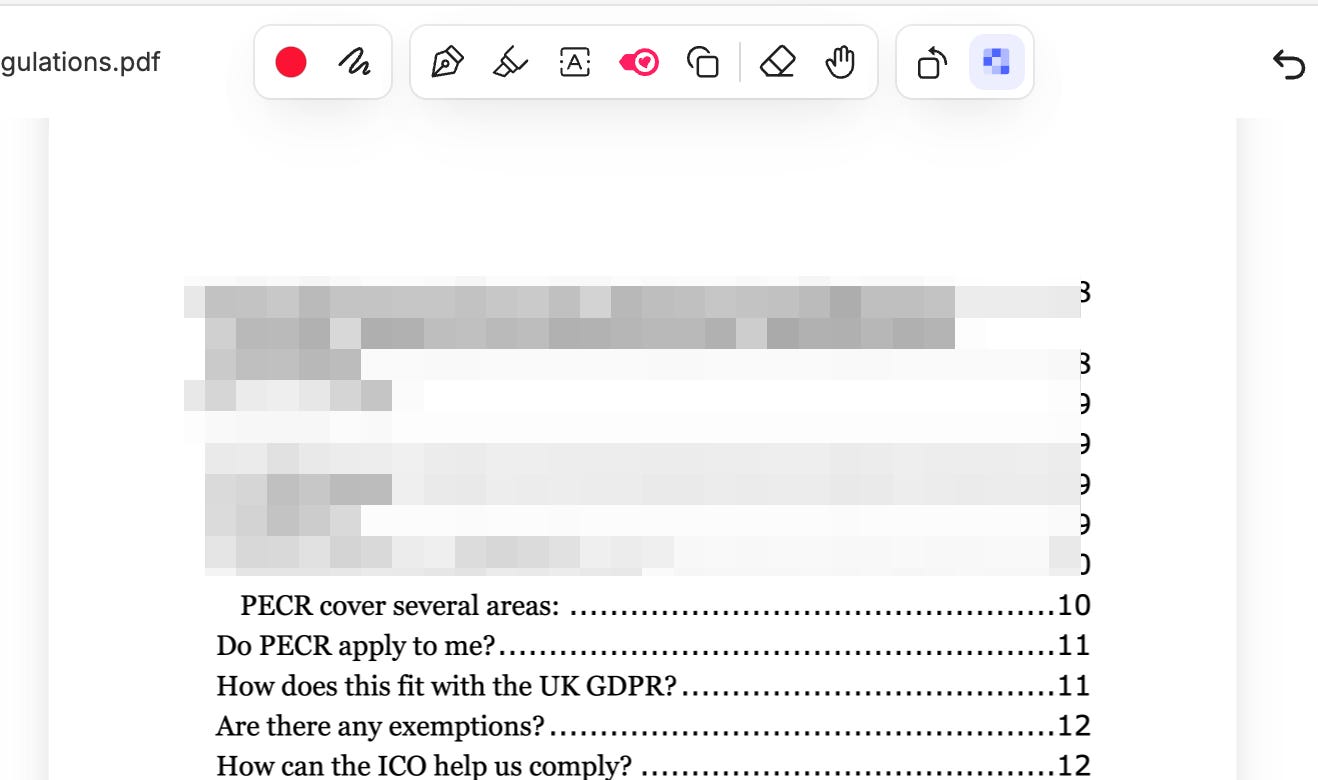
It’s an improvement. I use blur a lot.
So, that’s the annotation bits done. Let’s head into the sidebar.
Splitting a PDF
This is new and very cool. I’ve used it a couple of times already.
You can see all the pages of your PDF in the sidebar on the left and we can now multi-select specific pages and perform actions on them.
One of those actions is the ability to download the pages selected as a separate PDF, hence splitting it up.
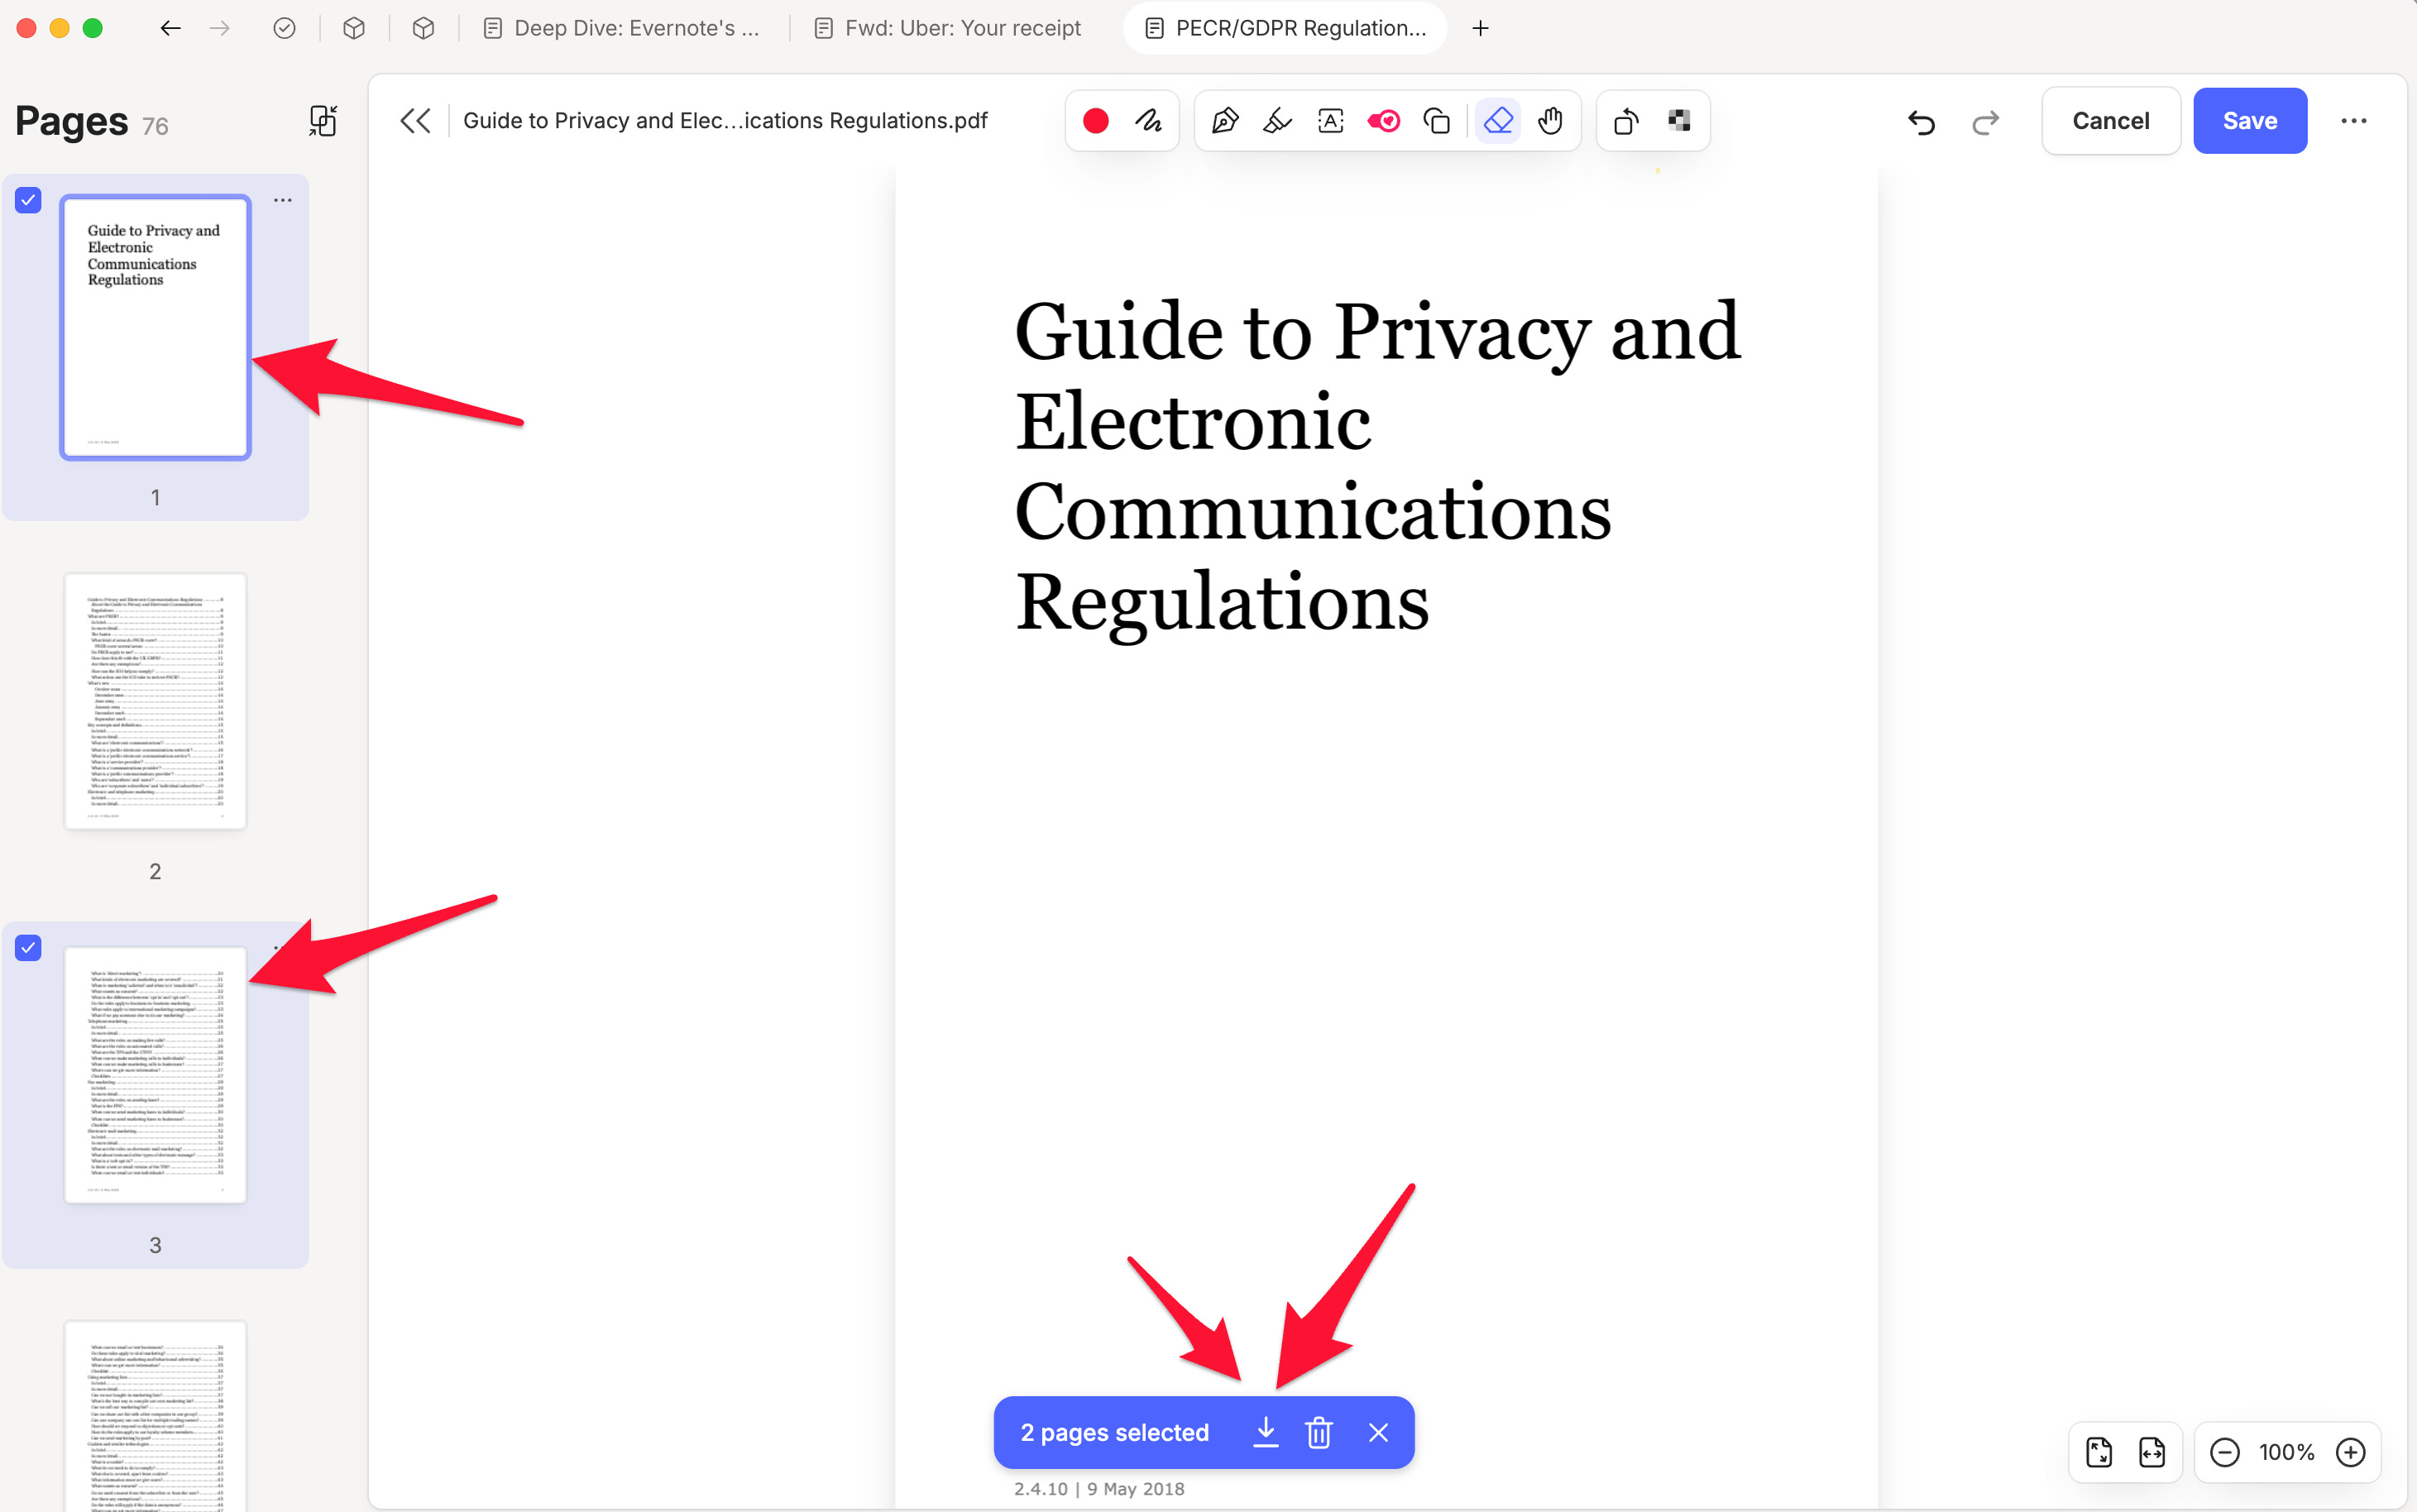
After you’ve selected the pages, you’ll see an action bar at the bottom, just click the download icon and the pages you’ve selected will download to your device.
Very useful. Let me know what you think in the comments.
Merging or adding pages to a PDF
Click the little Add PDF icon at the top of the sidebar and you can add another PDF on your device to the PDF in Evernote, merge them together.
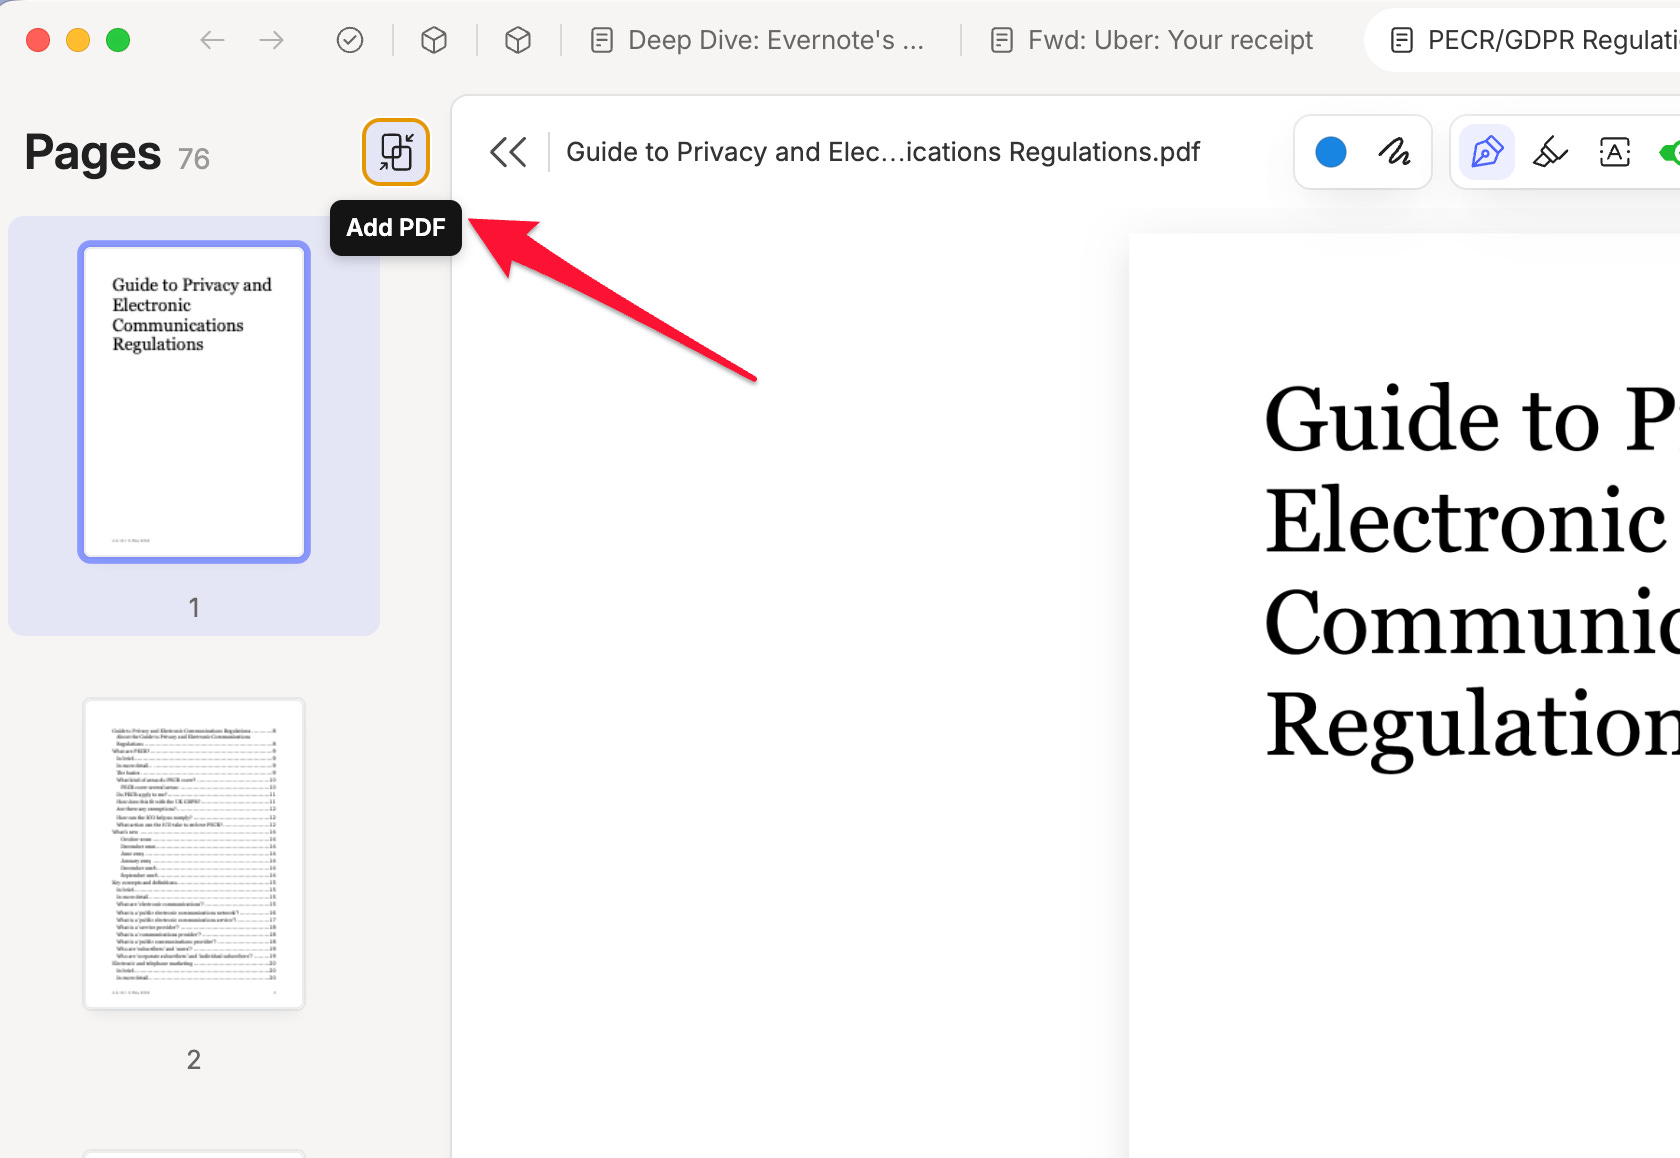
One thing I will point out is that it adds pages to the bottom of the PDF so you’ll need to drag them to where you want them.
I’m thinking it would be nice to select a page and then import another PDF just below the page you’ve selected, this would save the dragging around.
Some more improvements
As I’ve just mentioned, you can change the order of the pages in your PDF by dragging them up and down, this is useful.
You can also select an individual page, delete it, or download it. There’s a small three-dot menu to the right of each page.
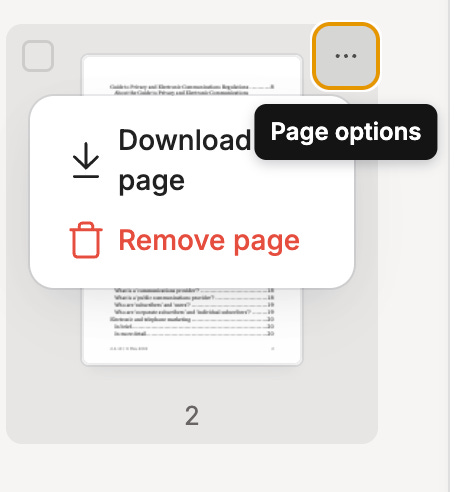
Some more useful options to mention.
There’s a three-dot menu at the top-right of the annotation window, click this and you’ll find the usual fit to window/width options, but you can also view only annotated pages or you can clear all annotations at once.
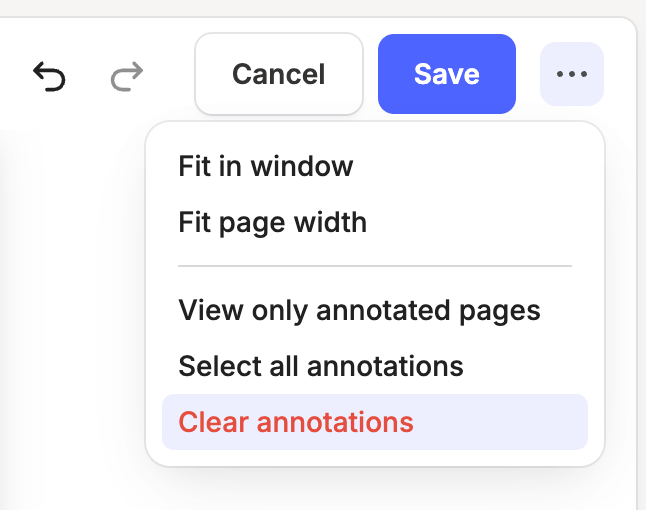
Phew! That’s about it.
PDF management has just become much more interesting. I really like the way we can now add/merge/delete pages within the PDF, this will be useful.
It will help me when I’m fussing around with client briefs, I can remove all the blah-blah pages and be left with what I have to do.
What do you think of these new features? Is there anything you’d like to see improved?
Let me know in the comments.
Have a good weekend
All the best
Jon